A guide to photographing the Northern Lights! There’s more to it than using your phone, so get prepared before you reach Iceland by reading this guide.
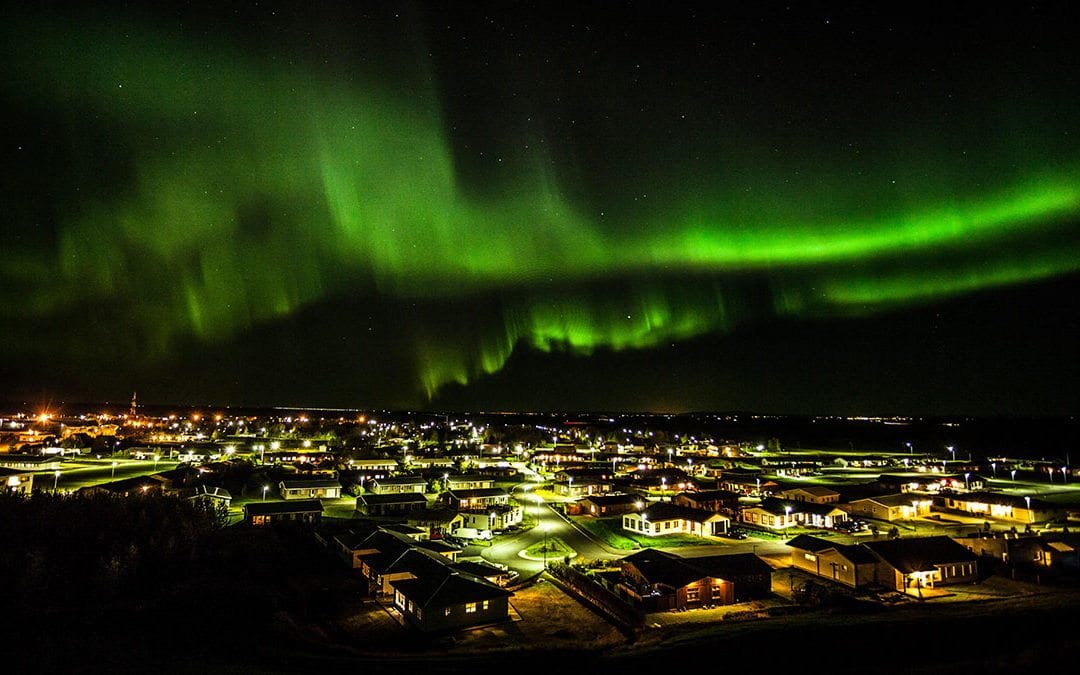
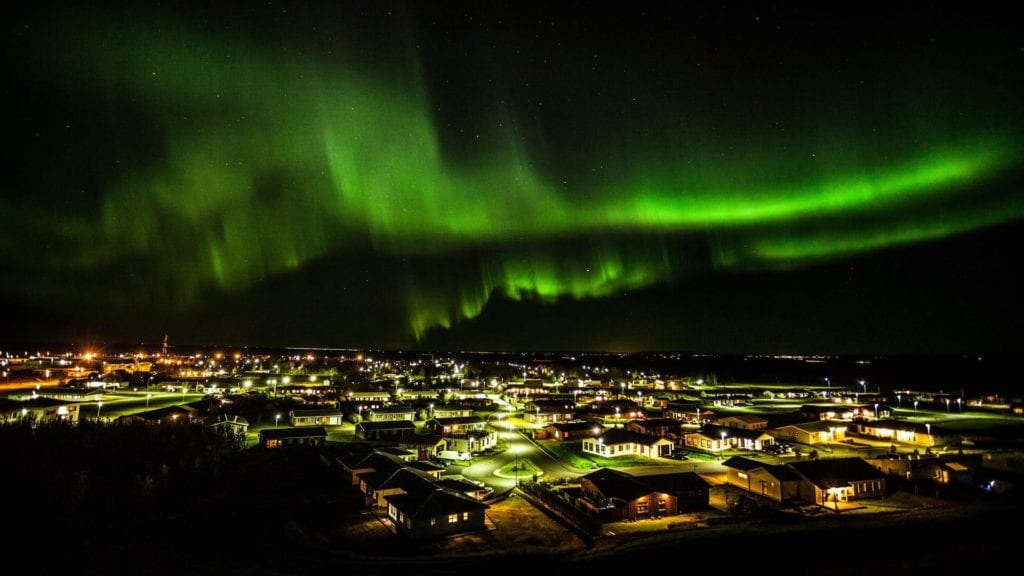
A lot of travellers come to Iceland hoping to witness the spectacle of the Northern Lights illuminating the sky with their hazy trails of gorgeous colour, and those that are lucky enough to spot them usually want to take a picture too.
In our Ultimate Guide to Winter In Iceland one blogger mentioned that spotting the northern lights was life defining, so we understand the desire to take a photo of such a momentous occasion.
But unfortunately, it’s not as easy as whipping out you phone and taking a snap.
Still, it’s well worth the effort to take a photo of the northern lights. Whether you plan to hang it on the wall or share it across social media, it’s guaranteed to make your friends and family jealous and give you a memory to last a lifetime.
So don’t miss out, read this handy guide and you’ll be able to take a snap of the famous northern lights during your holiday to Iceland.
The Essentials
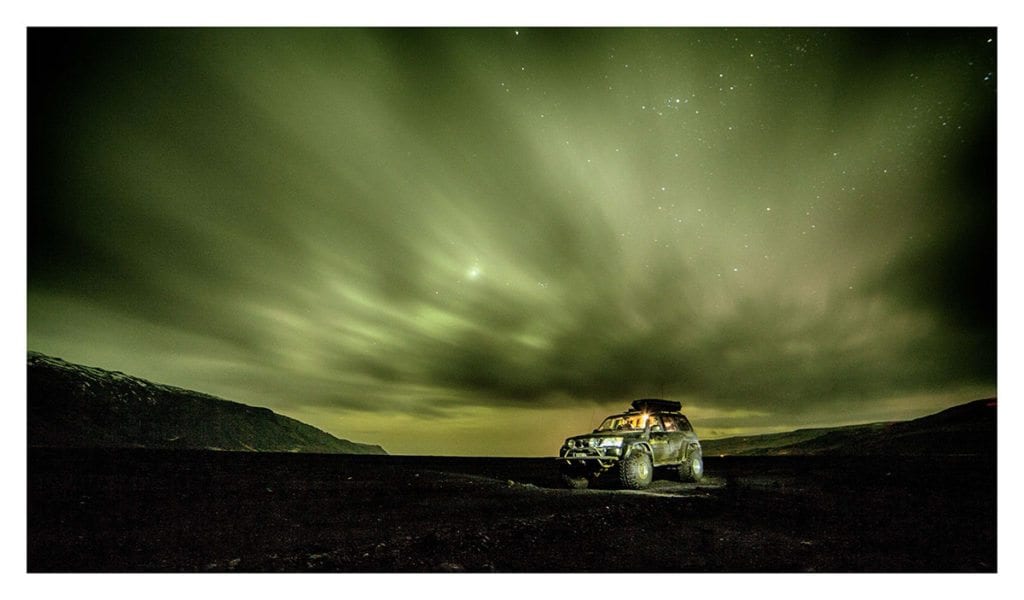
First of all, your regular phone camera is not going to cut it. They may be advanced and everything, but to capture something like the Northern Lights – and to capture them well – you’re going to need a good DSLR. A full frame DSLR is ideal and a wide-angle lens will help you capture the best scene.
You’ll also need a tripod so that your camera can stay perfectly still whilst you take your pictures; even the steadiest hand will move about too much to get that perfect shot because you need it on a slow shutter speed.
Get a Clear Sky
Obviously, you can’t control the weather, but if you’re going out with the purpose to get a great picture of the Northern Lights then you’re going to want a cloudless sky. You can still get pictures when it’s cloudy but they won’t be as good. Check the weather in advance to see when’s going to be best.
You can use the Aurora Forecast for Iceland to help your planning. It’s pretty useful!
Camera Settings and Capture
Focusing on something so far away means that the best way to ensure you’ll get a clear image is to set your camera focus to infinity. You should have a little infinity symbol on yours, so select that. Then, it’s basically down to what works best for you. Some people set their focus during the day, some use artificial lighting – it’s mainly down to trial and error until you find your method.
You’re going to want to use RAW Image Format, find your best metering mode (you can do this by shooting the stars), and set your aperture to f/2.8 (any wider than this and you’re going to lose that clarity of focus). Start with an ISO of 400 to 800 and, if your image isn’t bright enough, increase as necessary.
Your shutter speed depends on how quickly the aurora is moving. If it’s slow, you can allow a longer shutter speed, whereas if it’s moving quickly, you’re going to want a faster speed to avoid your image becoming a mix of colours and shapes rather than a clear picture. For quick speeds, try a shutter speed of 5-7 seconds, and 10-25 seconds for when the lights are slower.
There you have it! Now you’re all ready to go and get your Northern Lights shot to hold with pride for the rest of your life (and to show off to your friends, of course). All you need is to come to Iceland!
If you’re looking for a base to stay in whilst you capture the Northern Lights, check out the Midgard Base Camp – a friendly, warm and relaxed place where you can meet tons of awesome people and explore our beautiful country.
A short walk from Base Camp and the low levels of light pollution (thanks to our rural setting) help ensure the best possible visibility to spot the lights. What’s more, once you’ve captured that perfect picture of the lights, you can enjoy them from the warmth of one of our rooftop hot tubs on other evenings!
Just get in touch with the Midgard Base Camp team if you have any questions and get your stay booked!